Connecting to your mocks
The ability to send requests to your project is a crucial step after creating your endpoints and responses in Mockos. To achieve this, you need to follow a few steps to allow your client to connect to your Mockos project.
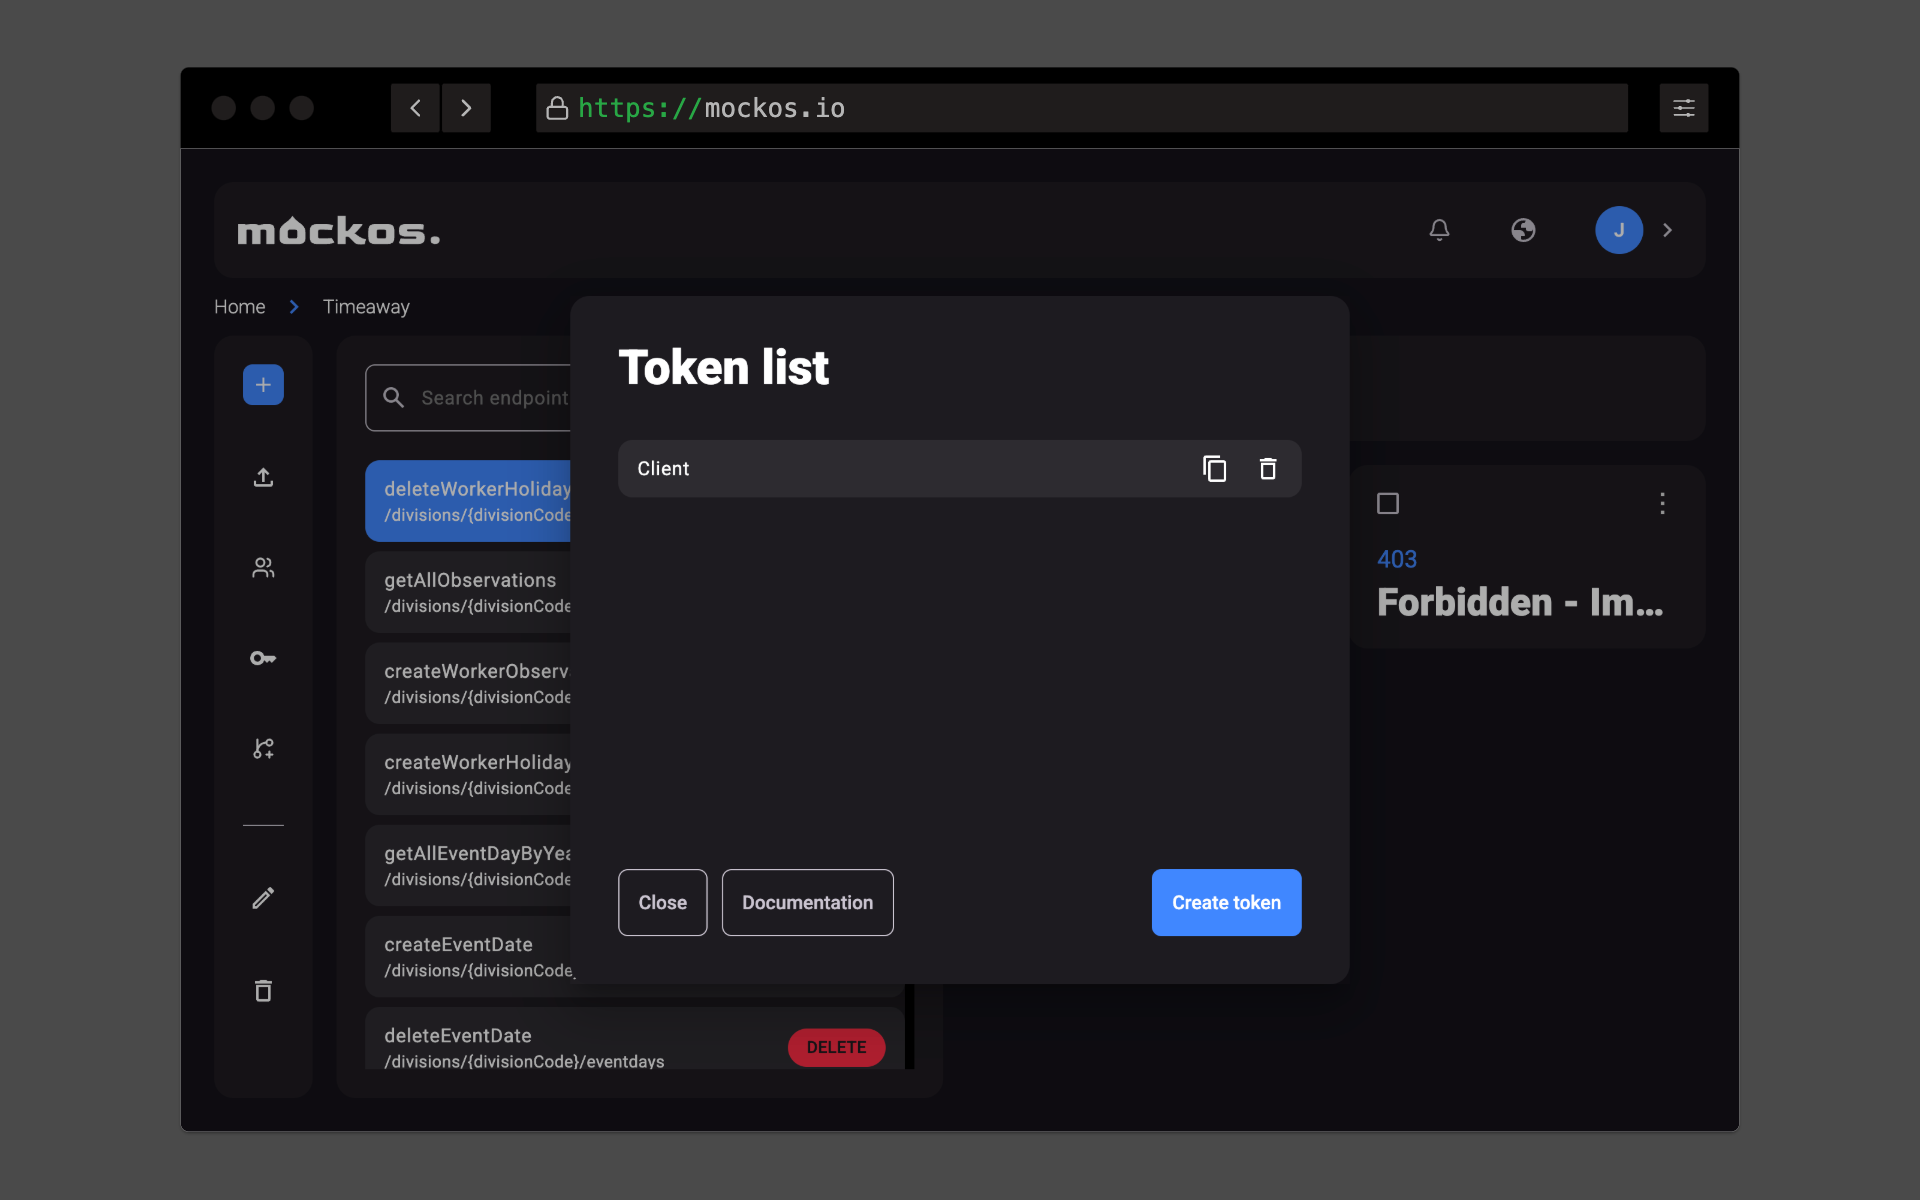
Create a client token
- Open the tokens modal in your project by clicking the "key" button in your toolbar.
- Create a new token by selecting "Create token" and give it a name.
- After creation, easily obtain the token by clicking the "copy" button, which will automatically copy it to your clipboard.
Preparing the client
All requests that you want Mockos to handle must be sent to https://api.mockos.io/mock/{token}.
For instance, if you wish to retrieve all Pokémon data using the /pokemons endpoint, the full URL would be https://api.mockos.io/mock/{token}/pokemons.
For every request to Mockos, it's crucial to include the project's token you just created. These details MUST be included in every request:
For example, if the token is "b5cf216a2213d94aa12fae3c6cffad6000d5204e", the Pokémon endpoint would be https://api.mockos.io/mock/b5cf216a2213d94aa12fae3c6cffad6000d5204e/pokemons
Examples
Below are examples to help you connect to Mockos and begin making requests immediately. Please note that you'll need to make adjustments to suit your specific case or project.
JavaScript / TypeScript
const response = await fetch(
  "https://api.mockos.io/mock/b5cf216a2213d94aa12fae3c6cffad6000d5204e/pokemons",
  {
    method: "GET",
  }
).then((data) => data.json());

console.log(response); // Pikachuuu!
Ensure that you follow these steps carefully to establish a successful connection to your Mockos project.